Continued from Part 1.
Modification 2: More Releasing. The Same Way of Folding, but Another Division α/β/γ of the Right Angle
So far so good. We should follow the wind. Let’s look at step 2 of our construction of the Versailles module:
- Bisect the rest of the right angle into angles β and γ.
Do we really need a bisection? What happens if we replace this step with:
- Divide the rest of the right angle into angles β and γ?
While in the case of bisection (or folding a line to a line) the angles β and γ are the same, now we will experiment with other divisions. Actually we may replace steps 1 and 2 with:
1-2ʹ. Divide the right angle into angles α, β and γ.
Again, the construction is always possible, and the module may be flattened.

Our family of modules has increased significantly, and now we can parametrize a module with two parameters ? and β.
Here you can see how the module looks if you change the angles ? and β. (See Geogebra notebook.)


For complete diagrams of Versailles: Knight, see the PDF.
Modification 3: The Next Step. Replacing the Bisector at D With an Arbitrary Division
Now we look at step 3.
- Bisect the right angle at D. Point Y is the crossing point of the lines constructed in steps 2 and 3.
We may experiment with another division of the right angle at point D.
The original construction divides the right angle at D into two equal angles ? = ?′ = 45°. Now we try to divide the angle into two arbitrary angles ? and ?′ (? + ?′ = 90°). But life is not so easy. If the angles α and β are small (point X is located low), and the angle ? is large (the line dividing the angle is located high), the intersection point Y is located off the paper, and we cannot continue our folding process. Also, when point Y lies on the paper but too high relative to point X, we can perform the next step, but the crease pattern is not flat-foldable.

In this case, the generalization is a little bit unexpected as the fold line must lie between side AD and line DX to satisfy the flat-foldability constraints:
- Divide the angle ∠ADX into two angles. Point Y is the crossing point of lines constructed in steps 2 and 3. Denote ? the angle ∠ADY.
Now we have extended our family of possible Versailles modules into three parameters ?, ? and ?, however there are constraints on ?.
Here, you can see how the module looks if you change the angles. (See Geogebra notebook.)


For complete diagrams of Versailles: Emperor, see the PDF.
The following table summarize the development of the Versailles module.
| Basic module | Modification 1 | Modification 2 | Modification 3 |
| α = 30º | α < 45º (as you wish) | α < 45º (as you wish) | α < 45º (as you wish) |
| β = 30º | β = (90º- α)/2 | β < 90º- α (as you wish) | β < 90º- α (as you wish) |
| γ = 30º | γ = (90º- α)/2 | γ = 90º- α - β | γ = 90º- α - β |
| δ = δ′ = 45º | δ = δ′ = 45º | δ = δ′ = 45º | δ < ∠ADX (as you wish) δ′ = 90º - δ |
| Versailles: Kusudama 8 x 6 With Holes (K10090) | Mallows at Midnight Shadow (K21008) | Versailles: Knight (K210026) | Versailles: Emperor (K21031) |
Looks like we have already used all possible angles to parametrize our construction and there are no more possibilities to release constraints on the construction. Really?
Modification 4: The Same Way of Folding, Another Starting Angle to Divide
Let’s go back to step 1 of our construction. We would like to divide an angle into three angles. And all four angles of a square are the same. So we have only one possible start to our construction. It’s obvious, isn’t it?
Actually, it is not. Why? It is not easy to say until we can see the solution. After that it is obvious.
And the solution is: It is not necessary to divide the right angle of the square at vertex A. We may start from a point P at the side of the square (instead of a vertex) and divide the angle of 180° at P instead of the 90° angle at vertex A.
The family of Versailles is constantly growing. Now we have four parameters: angles α, β, and δ as well as the location of the vertex P of the angle α.
Here you can see how the module looks if you change the parameters. (See Geogebra notebook.)


The diagrams were published in The Fold 60.


Modification 5. The Same Way of Folding, but Another Paper Shape
Let’s go back to the beginning of our construction. We must dive into the depths of psychoanalysis to find assumptions hidden in our subconsciouses. It is so obvious that the paper is always square that we do not even notice the fact. But do we really need a square sheet of paper? What happens if we start from another shape? Actually, nothing happens and we are able to follow our instructions successfully to complete the module.

Here you can see how the module looks if you change the shape of the initial sheet of paper as well as other parameters. (See Geogebra notebook.)

For Meadow diagrams, see the PDF.
More examples of Versailles works designed as described above:


Modification 6. Another Position of the Lines
Let’s recap our construction, taking into account the modifications we have discovered so far.
- Select a shape for the paper.
- Fold a line PX somewhere to form a petal.
- Divide the rest of the angle at P into angles β and γ.
- Divide the angle ∠ADX into two angles. Point Y is the crossing point of lines constructed in steps 2 and 3.
- Join points X and Y.
- Collapse the module to a flat form (make a “rabbit ear”). A new line a (a pivot axis of the module) arises when the module is flattened.
- Twist three flaps into spirals.
What we actually do in steps 2 through 4 is to construct point Y and three lines starting at that point, three lines that form a “rabbit ear” in step 5. But why are we focused so much on the points P, D and X? Actually, the lines may end at other points. We must observe that the lines do not enter the petal part of the sheet (as many layers do not look good when twisted, especially at the end of a spiral), and all the angles around the point Y are smaller than 180° (the condition for the flat-foldability of the “rabbit ear”).
We may rewrite our construction in a way that may be strange for origami but which opens new horizons:
- Select a paper shape.
- Fold a line PQ somewhere, and decide which part of the sheet will form a petal (we will call the other part the rabbit-ear part).
- Select a point Y somewhere in the rabbit-ear part.
- Fold three lines starting from Y that do not cross the segment PQ (but may end at P or at Q) dividing the full angle around Y into three angles, each smaller than 180°.
- (Already done.)
- Collapse the module to a flat form (“rabbit ear”). A new line a (the pivot axis of the module) arises when the module is flattened.
- Twist three flaps into spirals.

Here you can see how the module looks if you change the shape of the initial sheet of paper as well as other parameters. (See Geogebra notebook.)


For diagrams of Versailles: Fine, see the PDF.
Finally, Freestyle Folding
We have departed from rigorous geometric construction. Along the way, we discovered boundaries that are possible to remove. And each removal blossomed into a bunch of new possibilities, some of them converted into a specific work, and most of them left for the future, for other artists or perhaps never to be exploited. Now we have reached a place where there are no reference points, while the spirit or essence of the original construction is still preserved.
And our original rigid geometric construction has evolved into something flexible, and only partially defined, that may be described as:
- Choose a shape of the paper.
- Fold a line somewhere, and appoint one part of the sheet as the petal part and the other as the rabbit-ear part.
- Fold a “rabbit ear” (you are free to choose the exact shape) somewhere in the rabbit-ear part. Lines created by the “rabbit ear” should keep the petal part intact.
- Fold the petal part along the existing line.
- Twist three flaps into spirals.
Wait, wait … Modular origami is about nice clean geometric constructions, not about “somewhere” or “choose the shape.” Such messy steps are reserved for figurative origami, aren’t they?
As you can see, actually, they are not. Free-folding style may also be used in modular origami. If you are still not convinced, look at the work Versailles in Free Style: Chaos. The work consists of 60 modules folded in free style, each module is different from the others (yes, one more parameter – the shape of modules). And it is unique, impossible to recreate or copy.

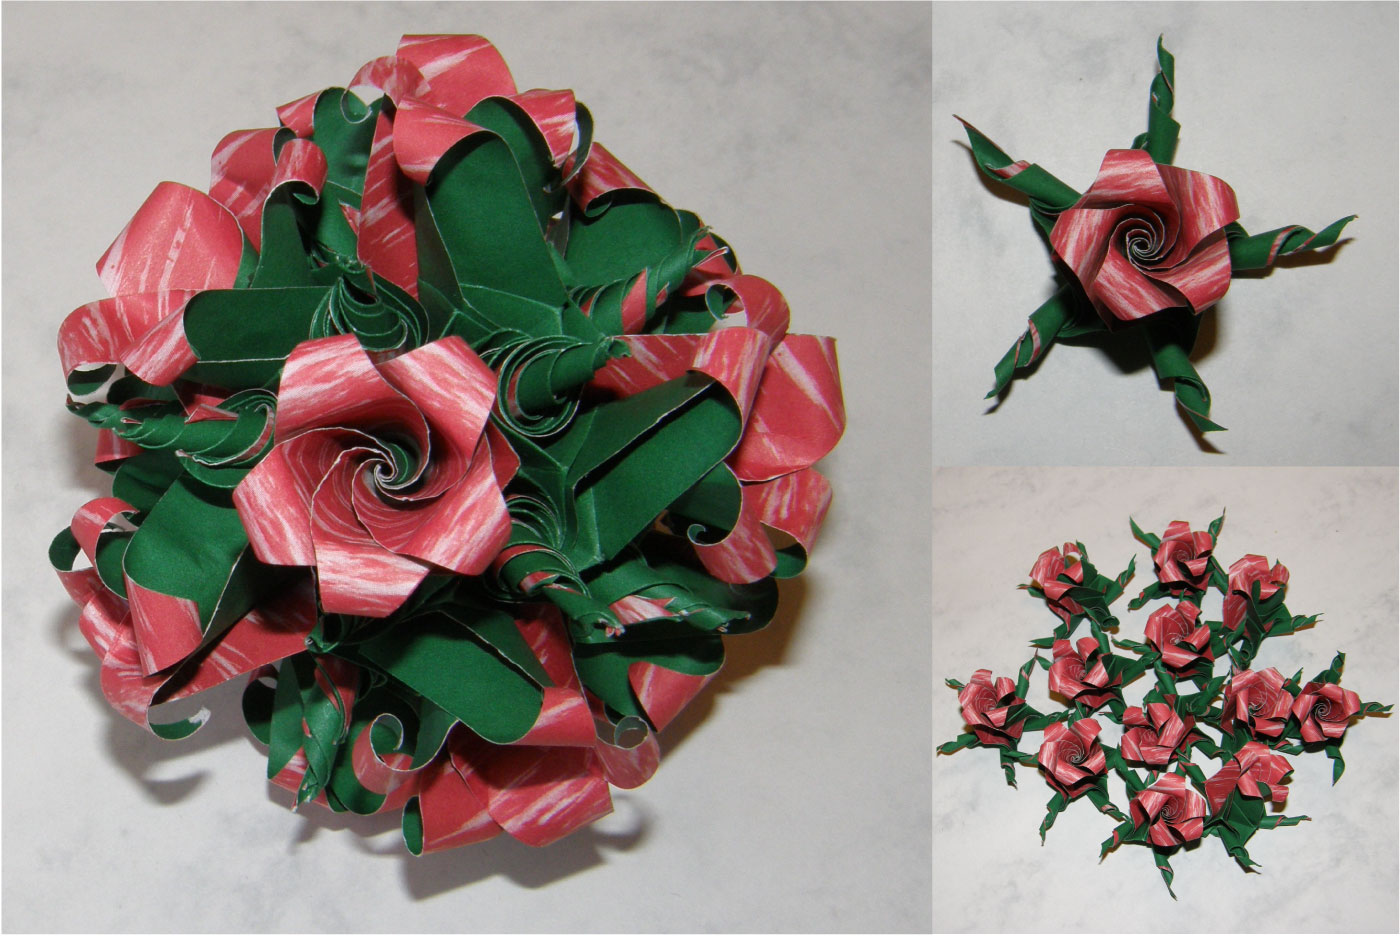
If you managed to read to this point, you definitely deserve a prize. In the picture above there are 13 pentagonal flowers while the final work needs only 12. Answer these two simple questions:
- Why does the final work needs only 12 flowers?
- Which flower is placed twice?
Send the answer to woj.burczyk [at] gmail.com together with a link to a photo of your work through Nov. 12, 2021, and you will receive a free Versailles diagram not downloadable in this article — two diagrams if you also send comments from your test-folding of any of the diagrams linked to this article.
— Krystyna Burczyk
Conclusion
We started with a rigorous geometric construction. The analysis of this construction led us through the subsequent degrees of releasing the constraints and revealed the essence of the idea. Each step resulted in interesting works with unforeseen features and visual values. At the end of the road, we got a very loose idea of a construction allowing for creative freedom.
Now, when (almost) everything is possible, it is time for artistic activity – to choose from the infinite number of possibilities, those that gain the intended visual effect or convey specific emotions. Each work will be unique – origami is no longer the production of fully replicable objects, but like other genres of art gives a one-of-a-kind result.
The design that was a promising starting point, after being generalized, became a tool, one of many in a creative toolbox, a tool waiting to be used to achieve the intended artistic effect. It is no longer a dictator who unequivocally determines the final result.
The design strategy described here created a family of similar but different works. However, it represents only a small portion of Krystyna’s designs. and is only one of many tools she uses to create new models.
— Wojtek Burczyk